- July 21, 2018
- Nail care
- Lazareva Valeria
A neat manicure always creates the effect of being well-groomed, drawing attention to its owner. The variety of technologies confuses girls, causing them to doubt. What to choose: European or classic manicure? The difference between the two technologies is not known to everyone. However, once you understand this issue, you will know exactly which option is most suitable for you.
Nail care is a procedure that needs to be performed regularly. Some ladies prefer to do everything themselves. Others, on the contrary, trust the master.
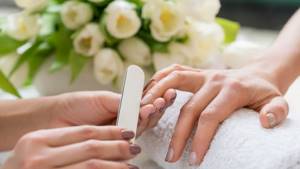
Both European and classic manicures have their own characteristics. The difference between them will become obvious if you take a closer look at each of the above technologies.
European manicure: features
As you know, the cuticle, barely covering the base of the nail plate, protects it from infections. During a classic manicure, the skin is cut off, opening the way for bacteria. This is why European manicure does not involve the use of cutting tools. For this reason, it is recommended for girls with thin skin.
When performing a European manicure in a salon, you need to pay special attention to the professionalism of the master. If you work carelessly, you can cause microtrauma and infection. Any tool must be carefully processed.
Colored marble
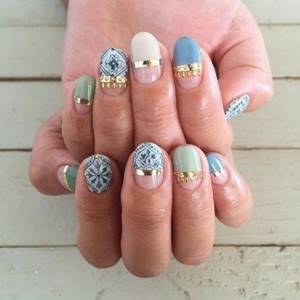
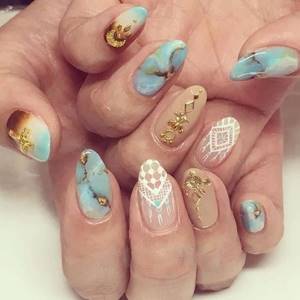
Marble manicure is also reflected in the boho style, only in color. If usually everyone is accustomed to seeing this technique in white or gray, then this style suggests the use of more interesting and bright solutions.
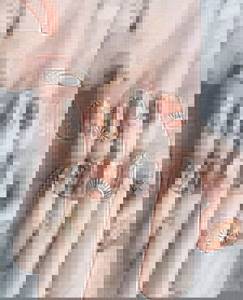
Interesting: Peach manicure with design
For example, blue, beige or yellow look amazing in a marble texture with metallic accents.
European manicure: technology
First of all, you need to make sure you have the following tools:
- file;
- polishing buff;
- pusher;
- remover;
- cuticle oil.
This is the minimum that will allow you to perform a high-quality European manicure even at home.
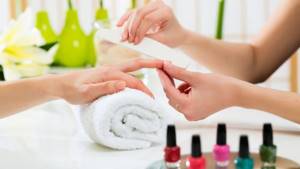
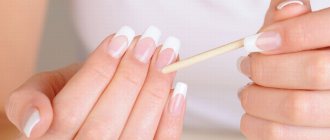
The technology consists of the technician softening the cuticle with a special compound and then pushing it back with an orange stick. Thanks to this gentle procedure, the cuticle is not injured, so it does not become rough and does not begin to grow faster.
“Russian manicure”: why everyone in the West is crazy about it

The very emergence of the “Russian manicure” trend can be called a paradox. It was not invented by Russian women at all, and it has only one thing in common with our girls - it is also impeccable.
Share:
What manicure is called “Russian”?
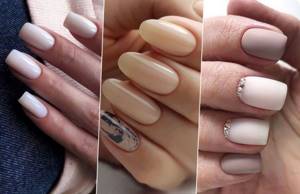
Girls from Europe and America line up at salons where they get the so-called “Russian manicure”. This is a new beauty boom, which bloggers and journalists predict for many more years of wild popularity.
It is interesting that the origin of this technology in reality has nothing to do with our country. It’s just that one day foreign fans of beautiful nail art discovered that in the accounts of Russian masters the manicure looked incredibly neat.
I want a ring like this with topaz, amethyst, chrysolite and cubic zirconia!
>>>>> The secret of the “Russian manicure” does not lie in a special technique available only to nail technicians from Russia - it is simply a popular hardware manicure among us. To create it, a special machine with different attachments is used. It was invented in Germany: the German Eduard Gerlach decided to create a device to simplify the procedure for manicure and pedicure, using dental technology as a basis. The first such machine was created in 1969, but it gained widespread popularity only in the 2000s.
See also: Pastel, metallic and leopard are the main spring trends in manicure >>>>>
Thanks to the right choice and combination of attachments, the manicure really turns out perfect: no extra cuticles, roughness or cuts. Its main advantage is that using the machine does not require preliminary steaming of the nails, which means the risk of infection is reduced.
How to do a “Russian manicure”?
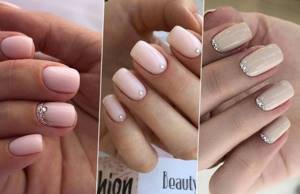
In order to try the trend for yourself, you will have to make an appointment with a specialist or purchase a device with several cutter attachments. Choose one that is fairly portable and lightweight—usually one that resembles a fountain pen in appearance and feels comfortable to hold in your hand.
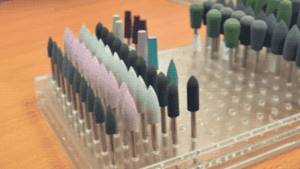
Hardware manicure at home consists of the following steps:
1. Disinfect handpieces and hands with chlorhexidine or antiseptic gel. If your nails are too long, you can cut them off with scissors in advance.
2. Soften the cuticle with a special liquid, then lift it. Remove any remaining cuticle using a truncated cone attachment.
3. Sand the surface of the nail: first you will need a file attachment with a coarse abrasive, then with a fine one.
4. Polish your nails with a silicone-tipped cutter. Then you can do a classic manicure with a base, colored polish and topcoat.
What are the advantages of hardware manicure?
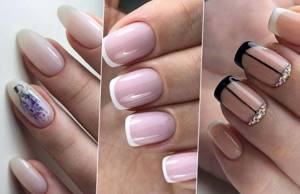
Let's see what exactly “Russian manicure” has earned its popularity.
Possibility of treating only problem areas of the skin
Cutters for removing calluses and cuticles can be used only on those areas of the skin and nails where it is really necessary. There is no need to touch healthy skin and the plate.
Safety
As mentioned above, the possibility of injury and infection is eliminated due to the special design of the nozzles. There are no cutting elements in the machine, and the existing cutters can be easily treated with an antiseptic.
Increasing the period between procedures
After treatment with a cutter, the cuticle grows much slower, which eliminates the need for frequent corrections. You don't have to worry about your nails looking sloppy.
What are the disadvantages of hardware manicure?
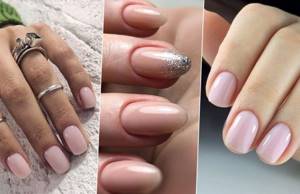
Most of the disadvantages of this approach are related to the professionalism of the master. For this reason, it is better not to take risks at home, but to contact a trusted salon.
Difficulties in finding “your” master
An inexperienced specialist may disrupt the growth of the nail plate or leave a groove on it from an incorrectly selected cutter. Nails will not only look ugly, but will also require long-term treatment.
Soreness
Another side effect that indicates a lack of qualifications of the specialist. A burning sensation or a feeling of discomfort should be a reason to refuse the services of a nail artist.
The need to alternate types of manicure
Grinding the nail plate too often is a factor that causes its thinning. Alternate classic trimmed manicure with hardware manicure to maintain healthy nails.
Nastasya Garina
European manicure step by step
Sequencing:
- First, hands are treated with antiseptic or antibacterial soap. Because before performing European care you do not need to take a steam bath.
- The old coating, if present on the nails, is removed with a special liquid. The most time will be needed to process shellac. The product must be left on for 10-15 minutes.
- Apply remover to the cuticle and leave for a while. The exact aging period depends on the manufacturer. That's why you need to read the information before using the remover.
- After the specified time, the remains of the remover are wiped off with a cotton pad, and the softened cuticle is scraped off with a pusher or stick.
- Upon completion of treatment, nourishing oil is applied. This is very important to restore the skin after the aggressive effects of the remover.
- If desired, you can cover your nails with decorative varnish.
Features of classic manicure
The classics are immortal. This is the most popular way to take care of your nails. It is the classic manicure that is offered in most professional salons. Its second name is edged. This is justified by the fact that cutting tools are used in the processing process. They carefully cut the cuticle, giving your fingers a well-groomed look.
If we compare European and classic manicure, the difference will be that the latter is considered more universal, although it also has its drawbacks. For example, this is not the best option for those who prefer to wear gel polish. Before trimming the manicure, take a hot bath. Subsequently, this can shorten the wear time of the gel polish coating.
European unedged manicure: main points
As the name suggests, this type of nail care appeared in Europe in the 20s of the last century, namely in France. This technique does not use special manicure tools, such as scissors, pushers, or tweezers.
During a European manicure, the cuticle is treated with remover and other softening solutions and carefully removed from the surface of the nails. This very step allows you to give your nails a well-groomed and attractive look.
An unedged manicure eliminates the use of any cutting objects. For many girls, a European manicure is simply a godsend, especially for those whose skin is prone to hangnails, is easily injured and takes a long time to heal. The risk of injury and subsequent infection in European manicure is minimal.
Unedged manicure can be dry or wet. In the first case, the nail care process does not involve any water procedures. In the second case, you need to use a bath of warm water with the addition of sea salt, lotions, and essential oils. Wet manicure has no contraindications. Those with fragile nail plates should avoid the dry method.
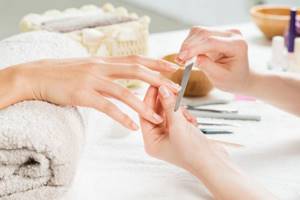
Classic manicure: technology
You can perform trimming in a salon or at home if you have the necessary tools, the list of which is quite impressive:
- Bath.
- Sticks or pusher for moving the cuticle.
- Nail scissors.
- File to give your nails the desired shape.
- Disinfectant.
If desired, you can use scrubs, nourishing creams and oils that care for the skin and cuticles.
If you plan to apply a coating, color varnish, top coat and base coat will also be added to this list.
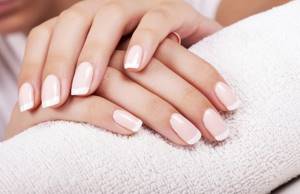
The execution process is what distinguishes a classic manicure from a European one. It is simple, but requires patience and accuracy:
- If there is varnish on your nails, it must be removed. A special liquid is used for this. If the nails are covered with gel polish, leave the product on for 10-15 minutes to achieve the effect. After this, the softened shellac is scraped off the nails.
- Using a file, nails are given the desired shape. It is important to do this before contact with water, since wet nails cannot be filed. For a classic manicure, medium length is preferred.
- Nails are soaked in a hot bath to soften the cuticles. The use of a scrub is encouraged at this stage. After completing the bath, wipe your palms with a towel and begin treatment.
- The softened cuticle needs to be pushed back using a pusher or a stick made of wood. The raised skin is cut off with pliers. You need to try to do everything very carefully so as not to injure the cuticle. It should be removed with a single strip, and not torn off in pieces. If cuts appear, you need to use a disinfectant.
- The classic manicure is completed by applying a colored or medicinal coating. Varnish is usually applied in several layers to increase the wear time. The master can also apply a nourishing cream.
If a classic manicure is done correctly, you can enjoy the result for at least a week. By learning to perform the procedure yourself, you can save on visiting salons.
Differences
Comparing both options: European and classic manicure, the difference is noticeable only in the execution, but not in the result.
Studying their technology, one can come to the conclusion that the differences are quite significant:
- Firstly, European manicure does not require pre-soaking the cuticle. This saves time.
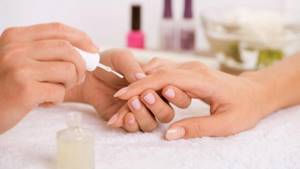
- Secondly, with a classic manicure, the cuticle is cut off, and with a European manicure, it is delicately dissolved.
- Thirdly, the difference lies in the tools used. European nail care allows you to get by using a pusher or a stick. And for the classic one you will need nippers or other cutting tools.
Now you know the difference between a classic manicure and a European one. Therefore, without unnecessary hesitation, you can decide on the priority option for yourself.
Negative space
The “negative space” technique will help make nail art more relevant and interesting. It involves the use of transparent elements that can be easily created using stencils or strips of paper tape.
